Showing posts with label Nail Art. Show all posts

Sunday, November 3, 2013

Dia De Los Muertos Nail Art

Hi everyone! Did you have a nice Halloween? I spent the evening with friends passing out candy and having a great time scaring kids! I mean that's what Halloween is for, right? The next day I took a trip to Sally Beauty Supply and voila, they had the China Glaze Happy HoliGlaze collection! I'd been eyeing two colors after seeing other bloggers' lust-worthy swatches, so I didn't hesitate to pick them up. Since I also had some grand nail art plans up my sleeve I picked up a few extra supplies: gemstones, acetone remover, dotting/marbling tools and two stripers.
Sally Beauty Supply Haul: China Glaze This Is Tree-mendous and There's Snow One Like You, Cina nail art gems, Beauty Secret acetone nailpolish remover, Cina nail art dotting tools, Finger Paints Red-Aissance and So Easy Stripe Rite in black

Now I mentioned some nail art. Downtown we are premiering a symphony for Dia De Los Muertos and it has an animated film that goes with it. All week during rehearsals I've been hearing creepy music and seeing the ghostly cartoons, obviously I wanted to extend the experience onto my nails. Armed with my new toys (and 4 hours worth of Wuthering Heights on Hulu) I spent an afternoon on a Day Of The Dead manicure. Here are the pictures, I really hope you like it!

Dia De Los Muertos Nail Art

 Dia De Los Muertos Manicure, right hand
Dia De Los Muertos Manicure, left hand

I absolutely love how this turned out. The colors are even more pronounced under artificial light.
Dia De Los Muertos Manicure, right hand in artificial light
Dia De Los Muertos Manicure, Left hand in artificial light
The rosary across my left middle, index and pinky fingers is one of my favorite parts. It makes me think of a rosary draped over my fingers and I keep imagining the rest of it is there somewhere.
Dia De Los Muertos rosary nail art

 The skull faces were really fun to create. Each one is different and sketching them out ahead of time really helped. The new dotting tools were absolutely essential. The cross and flowers was the first nail I did so that I could practice using them.
Dia De Los Muertos Skull and Cross Nail Art

 This is my absolute favorite nail, the flaming heart with chains around it.
Dia De Los Muertos Flaming Heart nail art

 A close up of my other thumb. This one was supposed to have a mouth like the others, only I made a false swipe with the striper. Whoops.

Dia De Los Muertos Manicure, skull and cross nail art

Dia De Los Muertos Manicure, skull and rosary nail art
A lot of people have asked me if these are decals- they're not! It's all hand-painted on my natural nails. I used two coats of Sinful Colors Snow Me White as a base and then a plethora of other colors for the design. Once I got the hang of the faces they were easy enough and I would definitely do something like this again next year. On some nails you can see the colors bled once I applied top coat, so I'll need to remember to wait longer in the future. And I do plan on having more nail art to show you! But not right away. This and my Halloween mani have been great fun but I'll be happy to get back to just a solid wash of color. And speaking of, stay tuned soon for China Glaze Happy HoliGlaze colors!

What do you think? Have you done any nail art? What is your favorite nail art that you've created?


Thursday, October 31, 2013

Halloween Nail Art

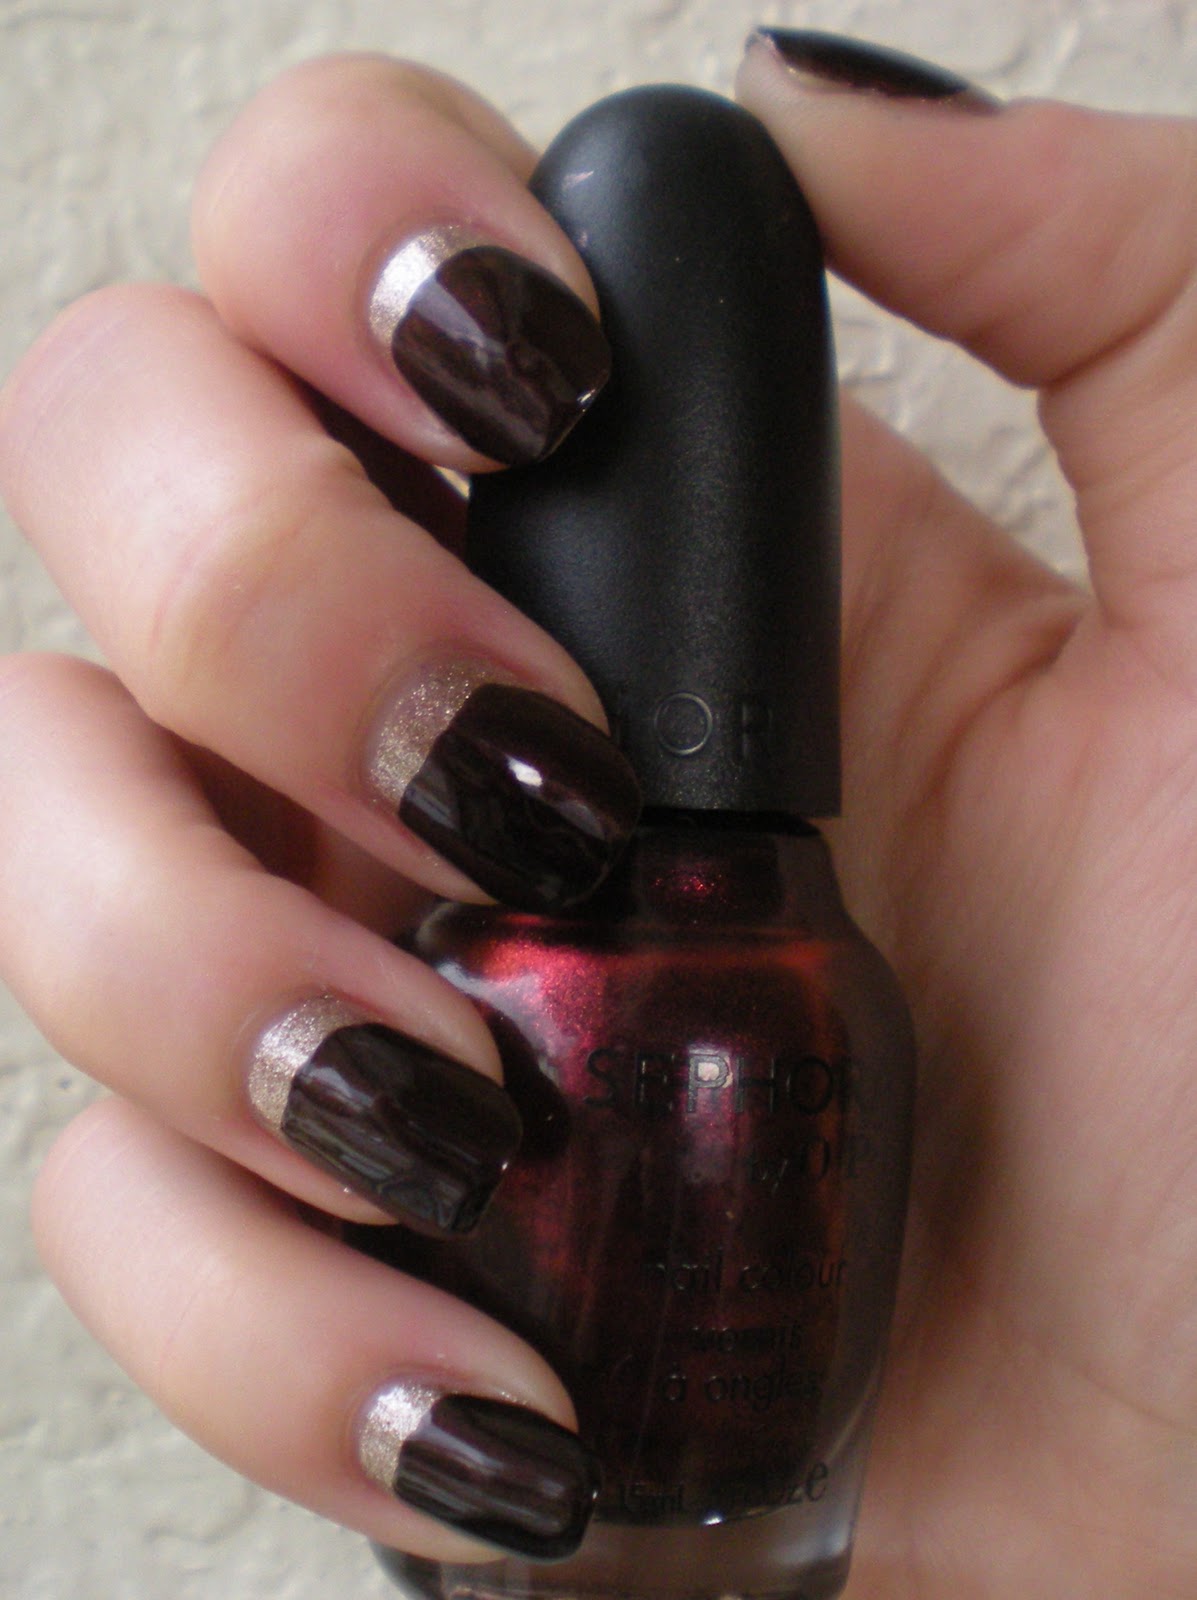
Happy Halloween! The creative juices were flowing yesterday and I was able to create some over-the-top Halloween nail art. I didn't really think it would be appropriate to dress up for work today, so my costume was on my nails!

Right Hand

Thumb: OPI Chopsticking To My Story with jewel-eyed Jack-o-lantern
Index: CG Ick-a-bod-y over Zoya Shawn
Middle: Deborah Lippmann Funky Chunky
Ring: OPI Take The Stage with polka dots and jewels
Pinky: Deborah Lippmann Bad Romance


 Left Hand

Thumb: CG Zombie Zest over OPI Did It On Em
Index: CG Mummy May I?
Middle: CC Platinum Record between OPI Y'all Come Back Ya Hear?
Ring: Zoya Shawn and OPI Rising Star
Pinky: CC Platinum Record between SC Black on Black


 The Halloween Rainbow
From Left to Right:
China Glaze Mummy May I?
Deborah Lippmann Bad Romance
Deborah Lippmann Funky Chunky
Sinful Colors Black on Black
OPI Take the Stage
OPI Y'all Come Back Ya Hear?
OPI Chopsticking To My Story
OPI Rising Star
China Glaze Ick-a-bod-y
China Glaze Zombie Zest
Zoya Shawn
OPI Did It On Em
Color Club Platinum Record

What do you think? I love how the Jack-o-lantern's eyes glow red like an evil zombie pumpkin. I also love how you can see a little bit of the unique texture of Funky Chunky. I tried to mimic that effect sandwiching silver glitter between layers of sheer polish on my left middle and pinky fingers. My favorite nail though is the polka dots and gems on my right index finger. It's just so fun and I keep rubbing my nail like it's Braille. On a side note: I got to see the tomb of Louis Braille this summer in Paris! He's buried in the catacombs of the Pantheon. Fun fact!

How will you be celebrating Halloween? What will you dress up as, and more importantly, what's on your nails?

Sunday, February 26, 2012

Gray and Lavender Nail Art

Howdy friends. I was in the mood for a little nail art this morning. My inspiration was a lot of pictures I've been seeing around Pintrest. A big trend in nail art has been clean lines with contrasting colors. Sometimes people use tape to create this effect, but I was too impatient to wait for the polish to dry long enough for that, so I freehanded it. I painted my nails with two coats of RBL Insouciant. Then I added a swipe of China Glaze Pelican Gray, at a random angle. I used a thin line of gold glitter to highlight the border between the colors. Then I topped it with one coat of CND Air Dry, my favorite quick dry top coat.


Insouciante is one of my most favorite polishes, and I really like the way it looks with the gray. I'm sure I will be wearing this for another week, which is how long I wore my last manicure. A week and no chips, with no top coat even! OPI gets major points for that.

Tuesday, February 14, 2012

Nicki Minaj Nail Art

Happy Valentines Day! OPI recently held the Nails For Life contest, where you could design a manicure inspired by one of Nicki Minaj's outfits from the past year. The contest was aimed at promoting "stand out nails" in everyday life. Now that it has ended I am allowed to publicly post my pictures. The polishes I used are OPI Teenage Dream, Color Club Platinum RecordZoya Minka, Sally Hansen Milles Fleurs, a neon pink and neon green from Urban Outfitters, and nail decals.

Nicki Minaj Nail Art for OPI Nails For Life contest 

Nicki Minaj Nail Art, bottle pictured is OPI Teenage Dream

Nicki Minaj Nail Art for OPI Nails For Life contest
How I did each nail:
  • Pinky- two coats of Urban Outfitters unnamed neon pink, one wipe of Urban Outfitters unnamed neon green on tip, nail decal on tip
  • Ring- two coats of OPI Teenage Dream, diamond and pearl nail decal in center of nail
  • Middle- two coats of Sally Hansen Milles Fleurs, two coats of Color Club Platinum Record on tip, nail decal just above tip
  • Index- two coats of Zoya Minka, one coat Sally Hansen Milles Fleurs swiped diagonally across tip, one coat of OPI Teenage Dream atop that, diamond and pearl nail decals bordering tip
Painting on the fly, these nails took about 2 hours to create. After I did these I was so in love that I had to come up with more designs for the rest of my fingers, those took another hour or so. If you'd like to see a picture of the outfit I was inspired by, click here.

I LOVED wearing this manicure. My favorite nail was my ring finger, it reminded me how much I absolutely love Teenage Dream. 

My thoughts are that I would love to do something like this again, and it is much easier having something, a photo, as inspiration. What do you think of nail art manicures like this? What types of things would use as inspiration? I would love to read your answers in the comments section.


Saturday, November 19, 2011

Thanksgiving Water Marble

Howdy friends.  Thanksgiving is almost here, and I was inspired today by the rich autumnal colors of the Harvest.  I tried a nail art technique I've never done before: water marbling.  No, it's not something they do in prisons.  It is a way of making marble designs with different color nail polishes in water, and then dipping your nail onto the pattern.  It sounds hard, and it kind of is.  And it's messy.  But it's a fun way to combine different colors into a beautiful manicure.

The colors I marbled were OPI Rising Star, China Glaze Naughty and Nice, and Deborah Lippmann Kiss From A Rose.  Before I marbled I painted my nails with one coat of Zoya Minka, just to give myself a nude base.  Here's how it turned out:

Right Hand: Water Marble with OPI Rising Star, China Glaze Naught
and Nice, Deborah Lippmann Kiss From A Rose


Left Hand: Water Marble with OPI Rising Star, China Glaze Naught
and Nice, Deborah Lippmann Kiss From A Rose

I love the autumnal color palette.  It was time consuming to do, but know that I feel like I have a hand on the technique (hah, no pun intended), I'd like to try it again.  I have some great Christmas combinations in mind!


Friday, November 18, 2011

Bahama Breeze Nail Art with Lippmann and OPI

Howdy Friends.  Showing you guys the OPI shatter polishes rekindled my adoration of them.  That being said, while browsing through Pinterest, I was inspired by this picture to create a multi-color shatter manicure.  I used one coat of Deborah Lippmann It's Delovely, one coat of OPI Suzi Says Feng Shui on the bottom half of my nail, and then one coat of OPI Black Shatter over the whole thing.  Finally I sealed it with one coat of OPI Top Coat to give it some shine.  I will tell you, this is the first time I've used OPI's top coat and I'm very impressed by it.

my Bahama Breeze manicure
"I'll have another, please."

When I first applied SSFS, it looked really bumpy over the tip of my nail.  But as the polish dried, it evened out over It's Delovely and created this slight purple fade in between the two polishes.  My colleague at work asked what I call this manicure.  My first response was a hodge-podge of the impression it gives me: "Bahama Breeze on the Beach at Sunset."  Realizing this is too long for a catchy name, I've since trimmed it down to simply "Bahama Breeze." 
This picture is exactly the impression I get from this manicure

What color combination would you like to see under Black Shatter?

Monday, October 25, 2010

Swing Baby With Brad

Greetings.  I've been meaning to try a ruffian manicure for a while now, and Swing Baby seemed like the perfect color to use as a base.  I used one of my favorite polishes, SEPHORA by OPI I'm With Brad on top and I think it came out looking pretty fancy.


Ruffian I'm With Brad over China Glaze Swing Baby

Ruffian I'm With Brad over China Glaze Swing Baby

The combination of blackened red looked really nice against the gold.  I'll definitely be doing this type of manicure again in the future.

Thursday, October 21, 2010

A Kiss From Brad

Since Kiss From A Rose was too pretty to take off right away, I decided to dress it up a little.  I took SEPHORA by OPI I'm with Brad and used it for French tips.  Then I added a coat of Butter London Matte Finish Shine Free Topcoat to make it extra special.  I'm really happy with the result.  I think it's prefect for Fall, reminds me of Indian Candy Corn.  I think this is also how Vampires do french manicures.

SEPHORA by OPI I'm with Brad over Deborah Lippmann Kiss from a Rose
with one coat of Butter London Matte Finish 


Thanks for stopping by, come back again soon!

Tuesday, October 19, 2010

Revlon Cherry Fizz Fruit Inspirations

Greetings.  Today I have another Revlon for you, this time Cherry Fizz from the Glimmer Gloss collection.  Cherry Fizz is a vibrant cherry pink jelly with a subtle shimmer of glitter.  The bottle calls this a sheer, but I don't particularly like it in one coat- kind of looks like bloodshot nails, and not in a good Halloween-y way.  After three coats it built to a nice jelly texture but I think no matter what you do there will be a visible nail line.  Application was very smooth and try time is about average, even with this polish being over 5 years old.

Revlon Cherry Fizz, fluorescent light

Revlon Cherry Fizz, indirect sunlight

Revlon Cherry Fizz, indirect sunlight

I think this color would look great on shorter nails but I wasn't too keen on wearing it by itself.  I decided to go along with the fruit theme and have some fun painting my tips with China Glaze Watermelon Rind to create a fun [seedless] watermelon mani.

Revlon Cherry Fizz with China Glaze Watermelon Rind 

Revlon Cherry Fizz with China Glaze Watermelon Rind

I felt a little silly wearing such a summer mani in October but I'll definitely remember this one for next year.  Bring on the picnics!

Thanks for stopping by, come back soon.